Celebrate National DIY Day with a Proper British Mani: The "Cakes and Cuppas" Collection
April 02, 2025 | News


The holidays are here, which means it’s time to try out new festive manicures! Whether you are a nail art professional or just starting on your nail art journey, this week in the blog we are giving you a step-by-step tutorial on how to give yourself a jolly Santa hat manicure.

Step 1: Prep Your Cuticles
Before applying any nail lacquer to your nails, it is important to prep your nails and cuticles so you can give yourself a salon-worthy mani. Start by applying Melt Away Cuticle Exfoliator around the cuticles and nail beds. Wait for approximately 60 seconds, then use our Signature Glass Cuticle Pusher to gently push back the cuticles. Wipe off the residue for perfectly prepped cuticles!

Step 2: Trim and File Your Nails
Next, for this Santa hat nail art we want our nails to be a rounded almond shape. To achieve this look, use our Signature Nail Clippers to trim the nails and our Signature Glass Nail File to shape your nails.

Step 3: Apply A Base Coat and Patent Shine 10X Nail Lacquer
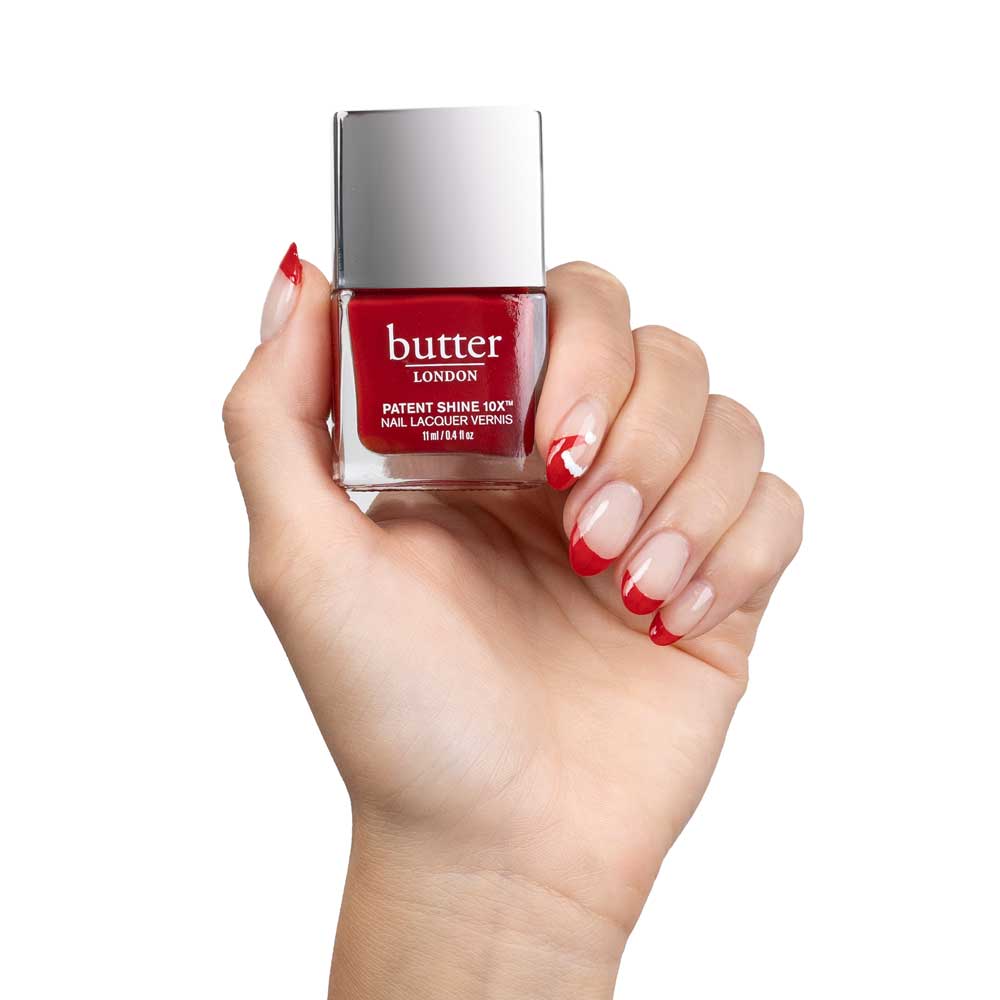
Now that nails are prepped and ready, it’s time for nail lacquer! Start by applying a coat of Horse Power Nail Rescue Basecoat to each nail to help protect nails against future nail damage and help prevent nail breakage and let dry. Next, apply one to two coats of Her Majesty’s Red Patent Shine 10X Nail Lacquer to each nail except the pointer finger on each hand. Let dry.

Step 4: Nail Art!
To begin the nail art, apply one layer of Sheer Wisdom Nail Tinted Moisturizer to your pointer fingers. Let Dry. Next, using the Stippling Brush from our Signature Nail Art Tools and Her Majesty’s Red Patent Shine 10X Nail Lacquer, carefully outline the tip of your fingernail as if you were giving yourself a French manicure. Draw a curved line with the same brush to mimic the top of a Santa hat. Let dry. Next, using the Dual-Ended Dotter Tool from the same nail brush set and Cotton Buds Patent Shine 10X Nail Lacquer, add dots of white along the edge of the tip of your nail to mimic the look of a Santa hat. Add a dot to the end of the red curved line to look like the poof on the top of a Santa hat. Let dry and repeat the same steps on your other pointer finger.

Step 5: Top Coat and Cuticle Oil
Now that your nail art is complete, finish off your festive mani with a top coat of Hardwear Shine UV Topcoat on each nail to help lock in your mani with a brilliant high shine, smudge-free finish. Let dry. Add a layer of Quick Slip Cuticle Oil with coconut oil to help replenish the look of cuticles as the final step of this Santa hat manicure!
To shop the must-have manicure products mentioned in this week’s blog, or other bestselling Patent Shine 10X Nail Lacquer and nail treatment products, head to butterlondon.com